Having a comfortable home is about more than just walls and a roof; it’s about creating an environment that feels just right no matter what the weather outside is doing. That’s where an air conditioning system comes in.
But if you’re considering installing a new AC unit, there’s more to it than simply booking a service. Here’s everything you need to know to make that process smooth and stress-free.
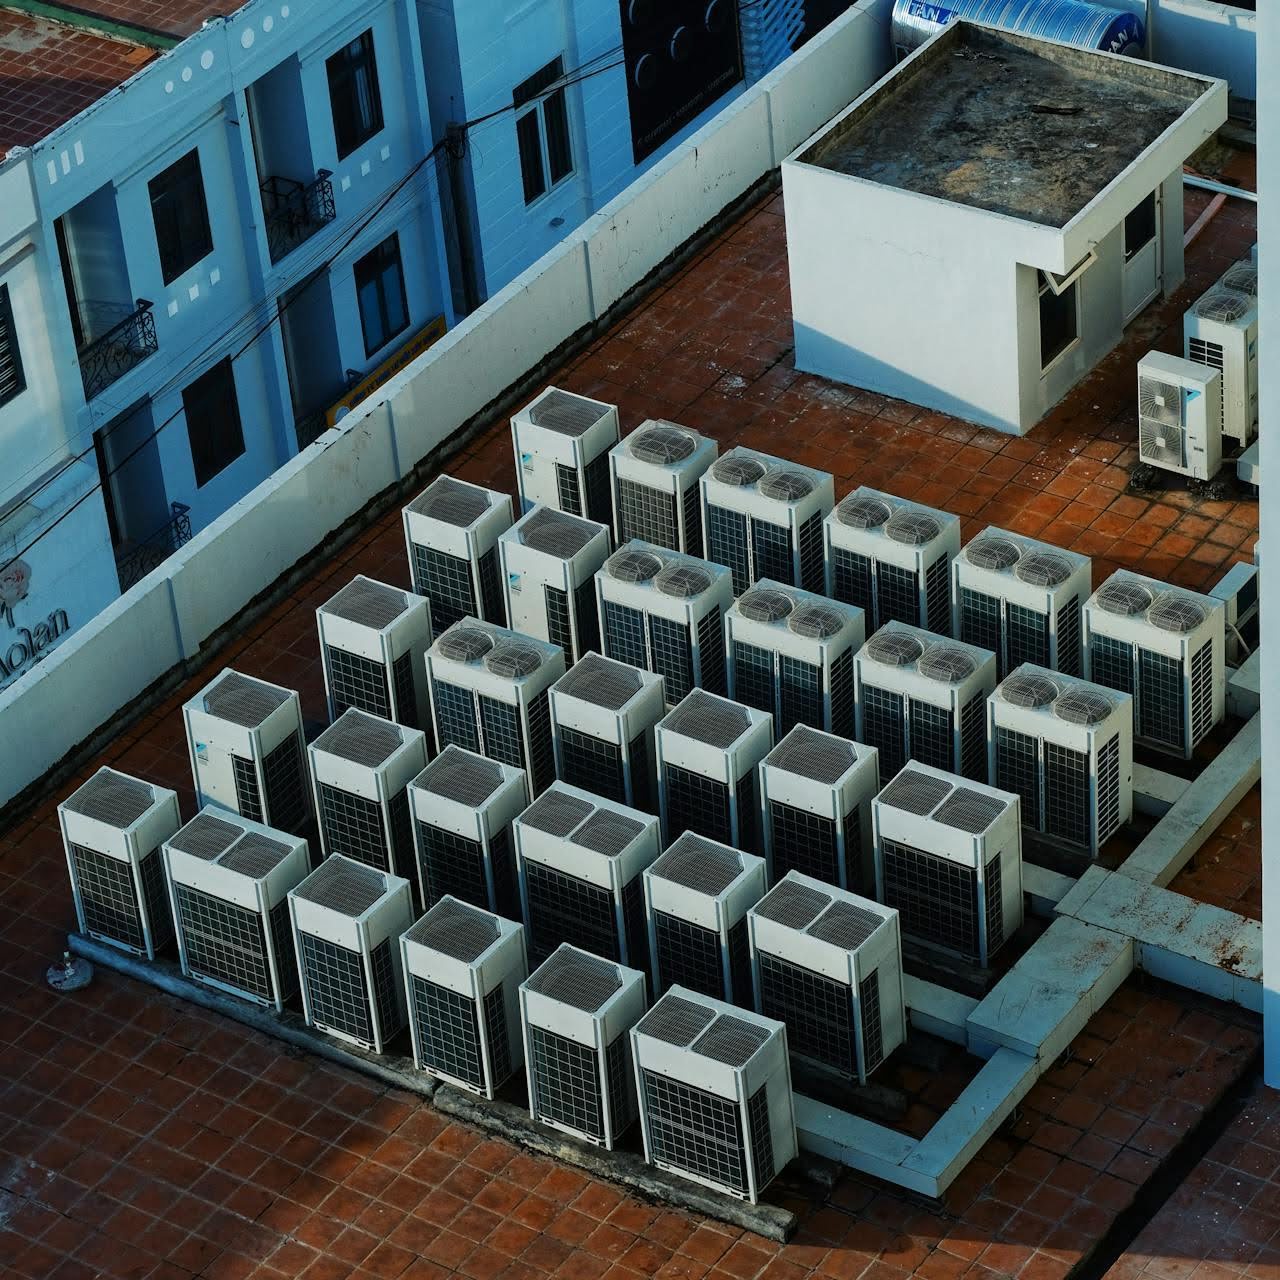
How to Choose the Right AC Size for Your Home
If your AC is too big, it’ll cycle on and off too quickly, leaving your home riddled with hot spots and using more energy than necessary. On the other hand, an undersized unit will struggle to cool your space effectively, leaving you frustrated and uncomfortable.
The size of your AC system should be carefully matched to your home’s square footage and unique layout. The key measurement here is BTUs (British Thermal Units), which represent the cooling power of an air conditioner. The higher the BTU, the larger area it can cool.
It’s not a one-size-fits-all situation, and things like ceiling height, insulation, and sunlight exposure also come into play.
Prepare Your Home for Installation
A little preparation can go a long way to ensure a smooth installation process. Here are some steps to help get everything ready:
- Clear the Area: Move furniture and items away from where the AC unit will be installed, whether that’s indoors or outdoors.
- Inspect Your Electrical Panel: Your AC unit will need sufficient power. Make sure your home’s electrical panel can handle it, or discuss upgrades with your installer.
- Reinforce Ductwork: If you’re installing a central AC system, leaks or gaps in your existing ductwork can reduce efficiency. Sealing and reinforcing these can save you from headaches later.
- Discuss Placement: Work with your technician to decide the best areas for outside condensers, ensuring they’re positioned for both efficiency and maintenance access.
What Happens During AC Install
Understanding what to expect during an AC Install can make the day less stressful. Typically, this includes the following steps:
- Removal of Old Equipment: If you’re replacing an old unit, the crew will safely remove it.
- Installing Indoor and Outdoor Units: The primary components of your AC system will be installed and properly connected.
- Electrical Work: Technicians will ensure your home’s power is connected correctly to handle your system.
- Testing and Adjustments: Once installed, you can expect a thorough check to ensure the unit is running at its best.
Depending on the system complexity, this process can take a few hours to a full day.
Caring for Your AC System after Installation
Once your new AC system is up and running, consistent care can keep it performing at its peak for years to come. Here are a few easy-to-follow tips:
- Change Filters Regularly: A clogged filter makes your system work harder, reducing its efficiency. Aim to replace or clean filters every 1–3 months.
- Schedule Tune-Ups: A yearly professional maintenance check can catch small issues before they become big problems.
- Keep Outdoor Units Clear: Ensure there are no plants, debris, or obstacles blocking your outdoor condenser.
- Use a Programmable Thermostat: Adjusting your AC to run less when you’re not home can save energy and reduce wear over time.